Disassembling the washing machine Baby is as simple as possible, since its device is understandable and uncomplicated. The biggest effort you will have to make when disassembling is making a key. Next, we will describe in detail the nuances of disassembling the "Baby" machines and describe in detail how to make a key.
Machine disassembly tool
It doesn’t matter why you decided to disassemble the machine - for repair or for parts, anyway you will find a certain difficulty. None of the existing keys can be disassembled. During the years of crazy demand for “Baby”, home craftsmen and craftsmen broke a mountain of keys, but subsequently came up with a solution and began to make a key on their own. Since then, the era of quick disassembly of washing machines "Baby" has begun. We will definitely share with you the secret of making a key. Arm yourself with this set:
- A tube with a diameter of 1.5-2 cm. A square profile of steel is also suitable - 20 cm long enough.
- Pliers.
- Screwdriver.
- Drill
- 6 mm metal drill.
- A pair of bolts 6x50 mm and a pair of nuts to them.
If you are a thrifty master, then perhaps you don’t have to buy anything and all of the above can be found on the balcony, in the garage or closet.
Attention! Make a key outside the house - where there is a vise and a workbench, and even better - a drilling machine. But you can drill a hole with a drill.
So, make the key:
- Measure the distance between the activator holes in which the fasteners are located. It is about 95 mm. It is necessary to drill 2 holes in the tube equal to this distance.
Important! If there is no machine, and you drill using a drill, clamp the fittings in a vice. Make marks with a punch, and after that proceed with drilling.
- Install the bolts into the holes.
- Tighten them with nuts

Dismantling cars
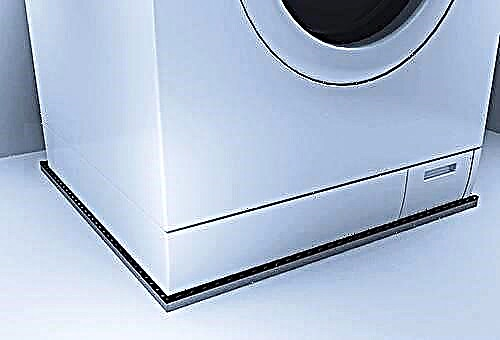
Before you disassemble the Baby machine, you made a key, and now you do not need anything else. Open the washer lid, remove the hoses and remove anything that may interfere. Cover the floor with foil or newspapers, put the typewriter on its side and you can start disassembling: Before you disassemble the typewriter Baby, you made a key, and now you don’t need anything else. Cover the floor with film or newspapers, put the machine on its side and you can start disassembling: 
- First you need the back of the machine. On it you will find a plug made of plastic - pick it up with a thin screwdriver and remove it.
- Next, turn the impeller by turning so that its hole matches the same on the casing.
- Insert a thin screwdriver or spoke into the rotor of the electric motor. This is necessary so that the motor is locked.
- Take the key of your own manufacture and unscrew the activator, at the same time removing the case.
Attention! The side to which the activator is unscrewed may differ for each Baby model. Be careful not to damage the threads.

- The tank is held by six mounts. Take off each in turn.
- Remove the flange.
- Remove the seal and washer. Unscrew the fasteners on which the parts of the machine body are held.
- All that remains is to remove the motor.
Dismantling the washing machine Baby was successful!
Expert Advice
If you planned a repair, and after disassembling, you will also need to assemble the SM, then do not forget to capture every step you take in the photo. It is difficult to remember where what part was, and even more so - the location of the wiring. The photo will help you to collect Baby back without any problems. Also, do not put too much effort into the tool. The “delicate” plastic case and rubber gaskets are not very resistant to damage. Rubber components can easily be ruined by the inaccurate movement of a sharp screwdriver, and pliers can break the edges of the mounts. So you just add yourself extra trouble. Be careful of successful repairs! Finally, we recommend a video. It will help you figure out how to disassemble the Baby Wash: